


How to apply the filler correctly
01. Preliminary assessment of the repair and correct choice of the type of filler to be used
First of all, you must make a correct assessment of the surface to be repaired. Choose the filler according to the size and type of defect.
In repairs where you need to apply greater thickness for better surface levelling, use a filler with high filling capacity, such as BESA-CAR, which is a product that offers excellent sanding and repair versatility.
On the other hand, if what you require is easy sanding, good coverage and fast drying you should use high-solids fillers such as BESA-EXPRESS.
02. Thorough pre-cleaning of the surface
Perform a thorough blowing, cleaning and deep degreasing of the surface, making sure that you remove any grease, oil or material residues that may compromise the good performance of the priming.
Incorrect surface cleaning of the part will lead to problems with adherence of the priming. We recommend the use of an acrylic degreaser and a clean cloth in good condition.
03. Choosing the shade of the filler in relation to the finish paint
This is a crucial step, which will allow you to improve coverage and optimise colour matching of the finishing paint. In some cases, as with the BESA colour management software, this choice of base colour is provided by the program itself for optimum colour matching to the finish paint.
Obviously, a correct choice of the filler’s colour based on a combination of grey scale will help you to be more productive and profitable during the repainting process, thus avoiding having to apply more finishing coats than those recommended by the manufacturer, also limiting product consumption and the time spent on repairs.
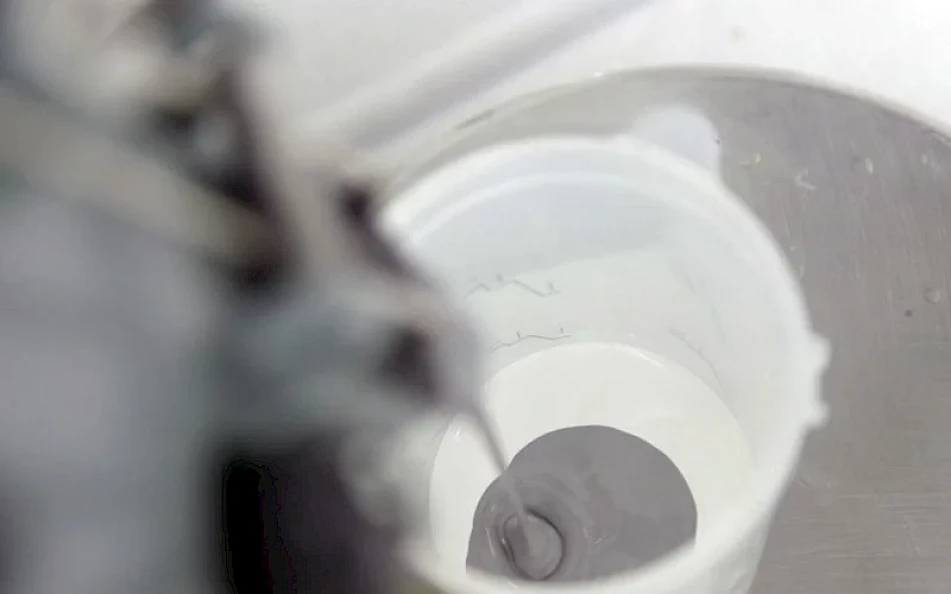
04. Preparing the filler according to the indications stated in the technical data sheet
The instructions for preparing this base paint must be followed as stated in the technical data sheet so as to minimise possible problems during and after the application process.
When preparing 2-component priming, you should adapt the choice of hardener and thinner to be used according to:
- Room temperature and humidity
- Drying time.
- Surface area.
- Speed of application.
In addition, to ensure good performance, the mixing ratio of the filler and hardener must be accurate.
Once the mixture is ready, add the required thinner, and make sure to stir it well until the mixture is homogeneous.
Filter the resulting mixture to ensure that any remaining impurities are removed.
The life cycle or “pot life” of the priming mixture can generally vary between 30 and 120 minutes, so once prepared, you must apply it on the surface so as not to alter its features.
Similarly, it is advisable to prepare the amount of paint required for the repair only, to avoid wasting product and generating unnecessary waste.
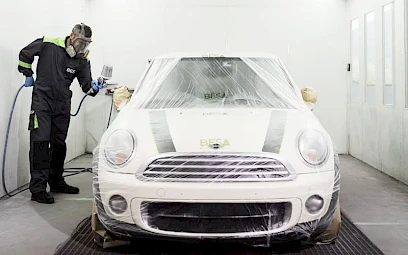
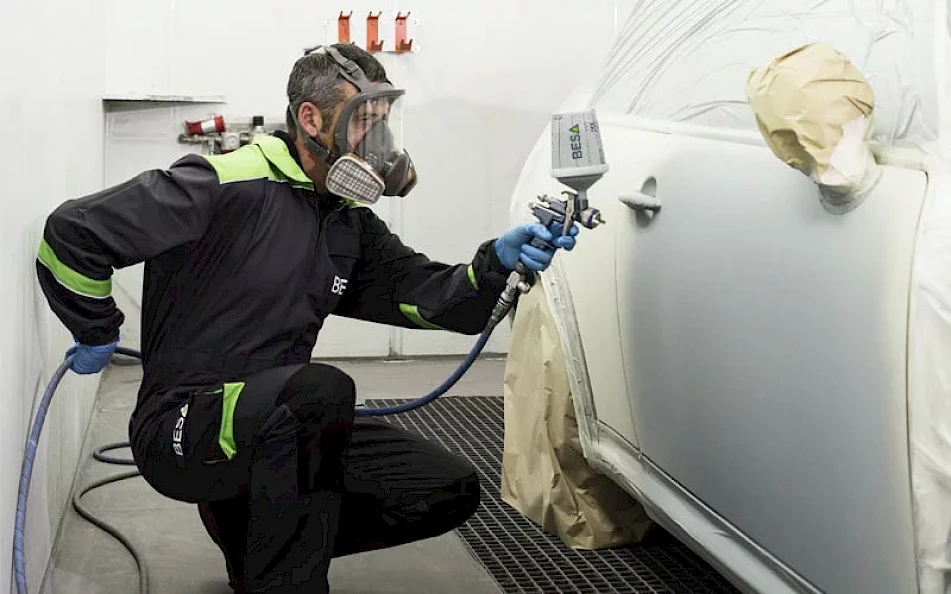
05. Correct adjustment of the spraying gun
In order to optimise the application of the priming, choose a gun with a head and a fluid tip adapted to the characteristics of this paint, regulating the pressure and the flow of the product according to the indications stated in the technical data sheet.
The use of HVLP spray guns (high volume with low pressure) provide better performance in the application of the priming paint since they use less pressure and more air volume to atomise the paint than other types of spray guns, thus reducing the fog in the application.
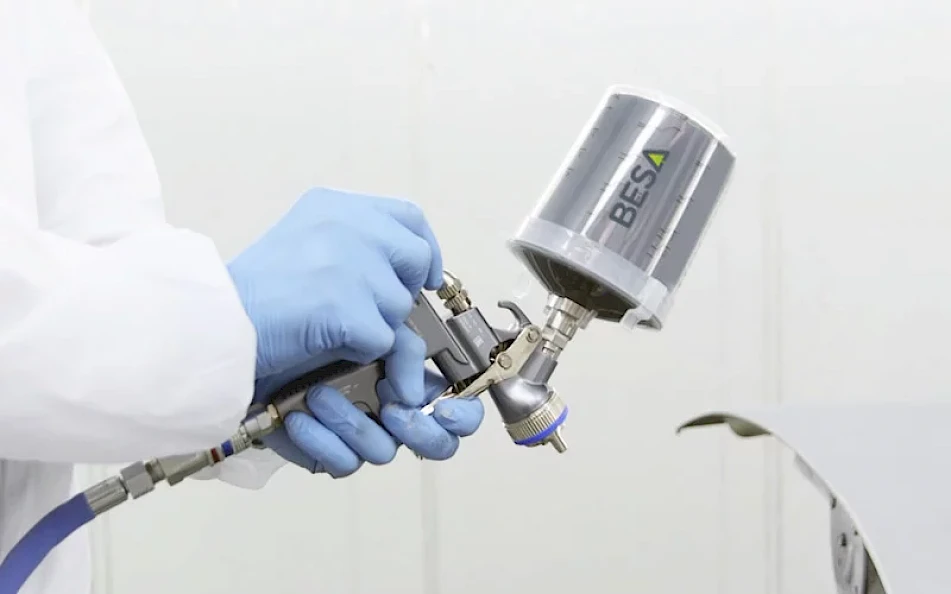
During the application of the priming, it is advisable to generate the least possible amount of spray cloud in suspension.
The product will be applied in accordance with the number of coats and layers defined in the technical sheet for a given final dry film thickness, always taking into account basic aspects such as perpendicularity to the part, speed of application, distance, etc.
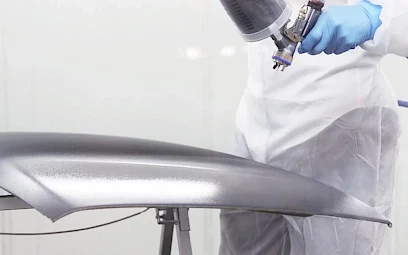
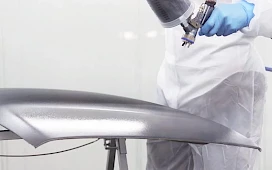
06. Application technique
If the defects to be repaired are in different areas, it is advisable to apply the priming to the whole part.
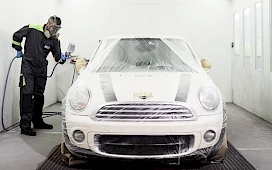
If the damage is in a spot area, you should superimpose the sandable priming by applying consecutive smaller coats.
By doing so, you will apply a larger and thinner first coat, which will cover a greater surface.
The next coat must have a lower application radius, in order not to cover the contours with powdered remains from the first coat, thus preventing these from being exposed, staggered, in the subsequent sanding process.
This way, you will prevent possibleabsorptions when applying the final finishing paint.
07. Complying with the drying times
You should follow the manufacturer’s recommendations regarding time, temperature, distance or equipment to use.
A correct drying time is even more important on the high thickness sandable priming. Additionally, in the drying process of the priming you should take into account aspects such as the room temperature and humidity, the amount of thinner used in the mixture or the product load applied.
Logically, the way in which the primmer is dried will influence the time allotted, varying whether the drying is done at room temperature, or by means of forced drying (in a booth or using infrared lamps).
Conclusion
Considering all these guidelines in the preparation and application of the priming paint will increase the chances of an optimal and quality repair.
Logically, there are other factors that can directly influence the final result, but our goal as professionals is to try to control all the variants, in order to minimise possible errors during the priming process.